Using Travis CI and Codecov with your Python Project
by Matthew Barlowe⌗
I’m going to cover two important concepts when it comes to coding: Continuous Integration and Code Coverage. Continuous Integration is the act of merging everyones code into the main code repository several times a day instead of doing it once a day or every few days.
There are pros and cons to this behavior which is beyond the scope of the article, but I like Continuous Integration (CI) because it fits in with my own coding philosophy. I like to commit often usually after every feature/function I create. This is because if something breaks I don’t want to have to go back through lines and lines of code to figure out what is actually breaking things. The second part of CI is each merge automatically runs tests to make sure the new code doesn’t break the old code. Automating tests is a great behavior because it means never forgetting to run them.
Tests brings us to the next part of this article: code coverage. The idea of code coverage concerns the tests run after each integration of the code. Code coverage examines all tests and determines what percentage of the code base the tests actually test.
The best is to have your tests cover one hundred percent of your code but that’s not always possible. Sometimes certain functions take to long and can’t always be implemented in a test as tests are meant to be short as possible. Still though, shooting for one hundred percent code coverage is always a good goal strive for.
There are tons of platforms out there to implement CI and measure
code coverage for your projects. The two I will be discussing in
this article is Travis CI for continuous
integration and Codecov for code coverage.
This article will require you have a Github account and be familiar
with git so go grab one if you do not already have one.
If you are unfamiliar with git, make sure to read my other
articles on learning to use git
One last note is that Pytest will be the python testing suite I will be using for all the tests. I’m sure others will work with this setup just fine I’m just not familiar with the exact syntax to get them to run. Also if you don’t have any tests written for your code then the rest of this article will be useless to you as well. So go write some tests for your code and then come back!
Setting up Travis-CI⌗
Shown below is similar to what you will see when you visit the Travis CI Homepage.

Hit the big green signup button and it will take you to a page that will have you enter your Github credentials. Enter those and then authorize Travis CI to access your Github repos. Click that big green button as well and then Travis should take you to a page that looks like this:
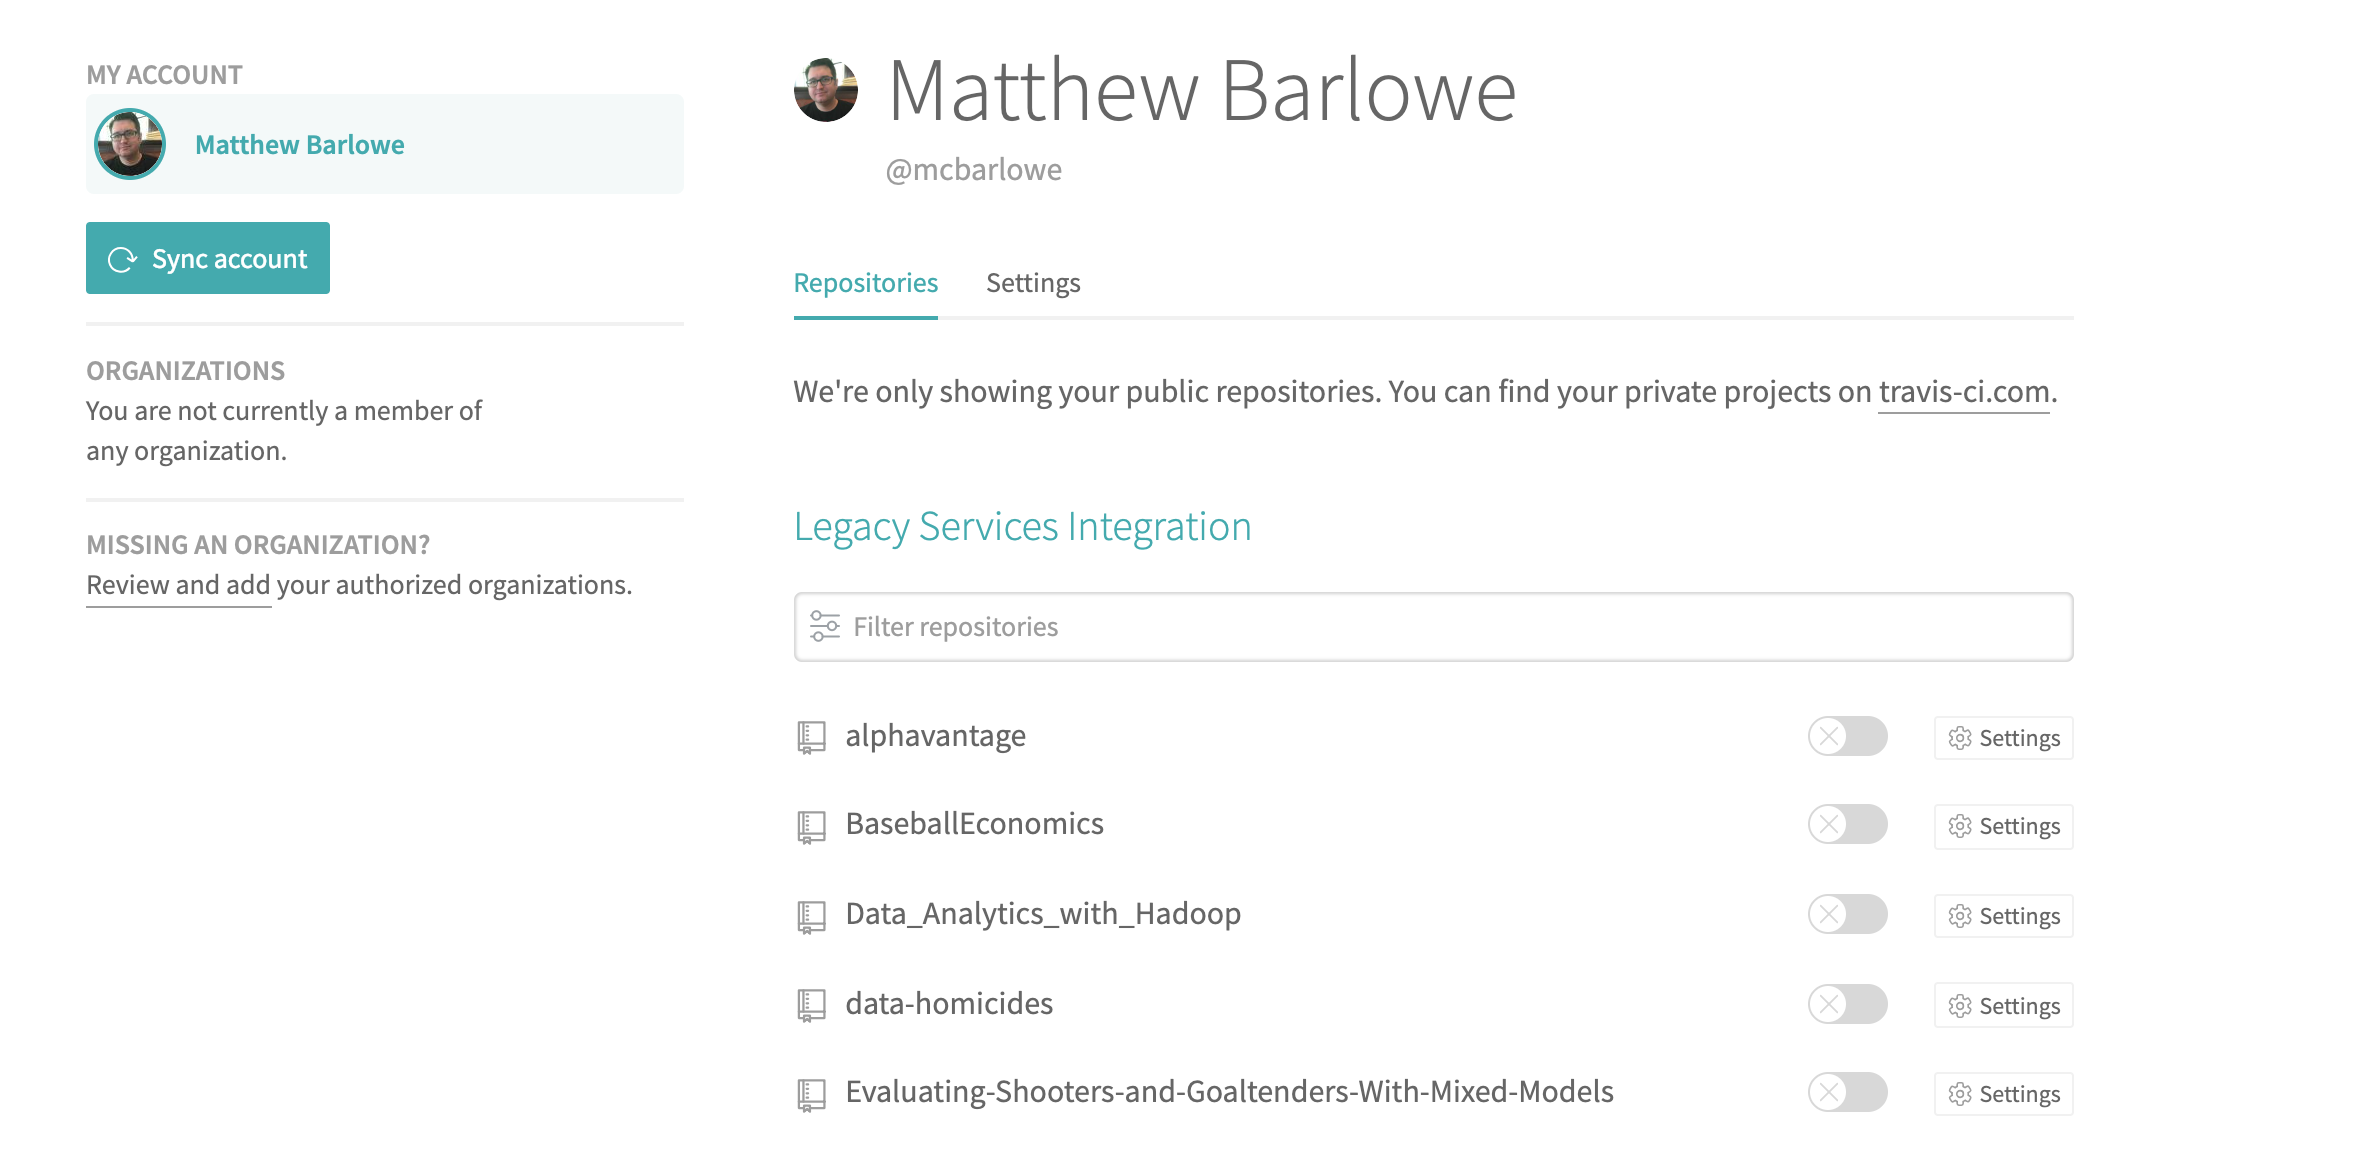
Click the slider button next to the repo you want to have Travis CI monitor and then click on the Settings button next to it and make sure that “Build pushed branches” and “Build pushed pull requests” slider buttons are also checked as well. Ok now Travis is ready to the run project’s tests with each push to the Github repo.
Don’t push anything though because Travis won’t know what to do with it
because we haven’t written the .travis.yml file for the repo.
YAML stands for “YAML ain’t
markup language” and is a common format for configuration files.
So create a .travis.yml file inside the root directory of the repo
on your computer and we’ll create a basic one for our Travis CI
build below. You can read more about the options you can have in
the .travis.yml file here
language: python
python:
    - "3.6"

install:
    pip install -r requirements.txt

script:
    - pytest -s test_unit.py
There are a lot of configurations you can put in your .travs.yml file
but for now this basic one will get your tests up and running. Let’s break
it down. language tells Travis what language you will be running the tests
in. This case is python but it could be anything: c++, java, ruby etc. The
python tells Travis which version of Python we want to run the tests in. This
one is Python 3.6. If you are using a different version of Python please change
this to reflect that version.
If your tests require any non standard packages you would tell Travis that
in the intsall section of the YAML file. A requirements.txt file holds
all the Python packages the code needs to run and Travis installs them before
it trys to run your tests. Not adding this line will cause automatic failure
of your tests due to ImportErrors if the code uses non base Python packages.
Next is the script part of the YAML file. Here Travis looks to see exactly
what tests we want to run each time we push to the repo. Our file is telling
Travis to run the test_unit.py file and take the output of those tests to
determine whether our build is successful or not. Change test_unit.py to
whatever the name of your test file is and Travis will run that instead.
Travis will only determine the build is successful if all the tests pass;
if any test fails it will determine that the build is failing.
Save this file and then push it to your repo on Github. Goto your Build History
on Travis CI and you will see Travis spinning up a virtual machine with the
settings you passed it in the .travis.yml file. This is after a successful
test for my nba_scraper package but the look should be similar.

If all the tests pass the build will turn green and if they fail then it will turn red. And now you have Continous Integration setup for your python project! This means that every time you push a commit to your python project Github repo, Travis will clone the repo and run the tests.
One last thing to mention is that if you’d like the build badge on your Github repo README.md just click on the badge you see on the Travis build page and select the Markdown option. Take markdown it gives you and paste it at the top your README.md file commit and push to the Github repo and you’ll have your own shiny build: passing badge.
Setting up Codecov⌗
Ok know that Travis CI is up and running with the repo adding the
Code Coverage reports is just a few more steps. First you need to
pip install pytest-cov codecov and add the packages to your
requirements.txt file so Travis will know to install them as well.
Next go to Codecov and link your Github account.
Codecov will then show a page saying no repos are linked to it and
giving you a repository upload token. You won’t need that because
Codecov doesn’t require the token from public repositories originating
from Travis CI, Circle CI, or AppVeyor CI. If you want to pass
private repositories then you will need to add that to your .travis.yml
file.
Now that your Codecov account is created, the next step is to edit
the .travis.yml file to tell Travis to run it after our tests
are done. So open the .travis.yml file and add these lines to it
language: python
python:
    - "3.6"

install:
    pip install -r requirements.txt

script:
    - pytest -s --cov=nba_scraper test_unit.py

env:
    - CODECOV_TOKEN=<token>#IF ONLY YOU HAVE A PRIVATE REPOSITORY

after_success:
    - codecov
So its basically the same except for a couple differences. First
is the --cov=nba_scraper flag to pytest. This tells pytest to measure
coverage for my nba_scraper module. You would change this name to whatever
the name of the folder is holding your python module. The second part
is after_success:. This section tells Travis what to do after the tests
are passed which in this case is to send the report to Codecov.
And that’s it! Now save the .travis.yml file and push to Github.
Travis will do it’s thing and then send the code coverage report to
Codecov and you should see something like this on your Codecov main
page:

nba_scraper would be replaced with the name of whatever repository
you were pushing to Github. And now the only thing left to do is to
get the badge for your repo’s README.md. Click on your repo’s name
from the main page and then goto Settings. On the left will be a Badge
section, click on that and copy the markdown option. Repeate the process
of adding it to the repo’s README.md just like you did with Travis. Commit
and push and now you have a shiny code coverage badge next to your
build badge.
If you have any questions/concerns or notice any errors please feel free to email me at matt@barloweanalytics.com
Sources:⌗
What is code coverage and how do you measure it?